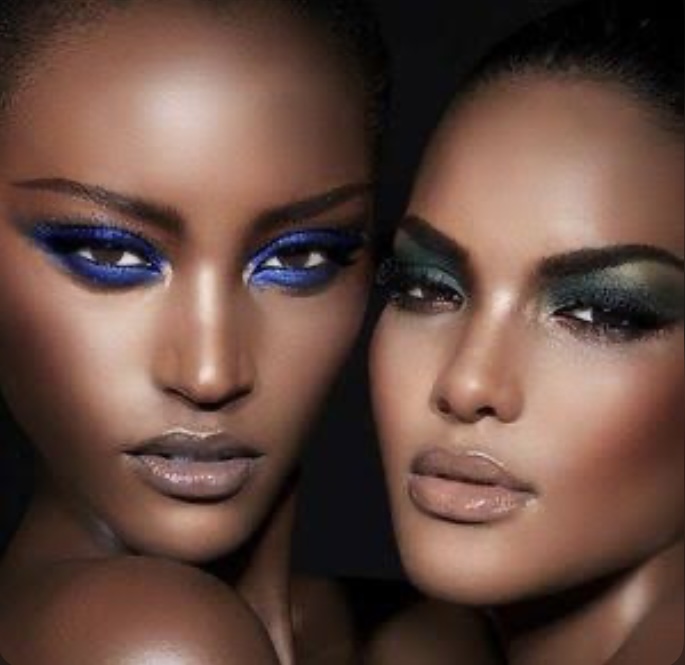
Contouring and highlighting have become popular makeup techniques that enhance facial features by playing with light and shadows. These two methods work together but serve different purposes. However, many people use the terms interchangeably, which can create confusion on when and how to apply these techniques. This article will explore the difference between contouring and highlighting, when it’s best to use each method and some tips for achieving a flawless finish that will bring out your natural beauty.
Understanding the Difference Between Contouring and Highlighting
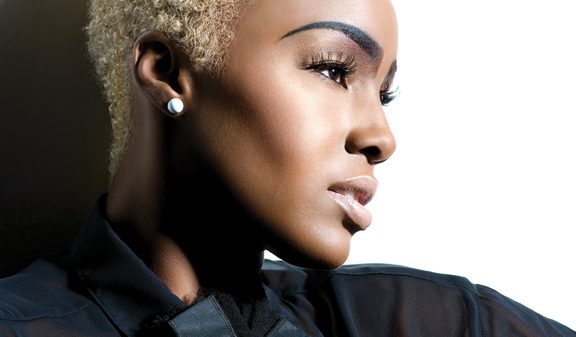
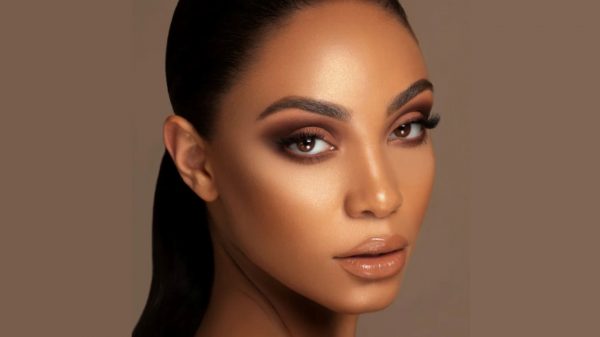
Contouring and highlighting have become two of the most popular makeup techniques in recent years. While they may seem somewhat similar, understanding their difference is crucial to master these methods effectively. Contour involves using a darker product than your natural skin tone to create shadows that make certain features appear smaller or narrower, enhancing bone structures such as cheekbones and jawline. Highlighting, on the other hand, uses a lighter hue to attract attention to specific areas of the face, like cheekbones or brow bones, by reflecting light off them.
Despite being different techniques with unique purposes, both contouring and highlighting work together perfectly when applied correctly. People often use them interchangeably; however, knowing which method applies best will enhance facial features extensively. Understanding how much pressure and what type of brush you use can dramatically impact your final look.
Knowing whether you should apply more emphasis on contouring versus highlighting depends on your desired effect – it’s not one size fits all! Combining clever shadow manipulation with light reflection can help draw attention away from less desirable aspects while emphasizing the beautiful assets we want everyone to see thoroughly. Ultimately mastering these techniques allows us all to achieve flawlessly fabulous faces regardless if we are novices dabbling into this new realm or seasoned professionals perfecting timeless looks for generations henceforth.
When to Contour and When to Highlight: A Guide
Contouring and highlighting are two popular makeup techniques that can create a dramatic, chiseled effect or subtle, natural radiance, depending on how they are applied. Contouring involves using darker shades to shade areas of the face where shadows naturally occur, such as under cheekbones and along the jawline. This creates a more sculpted look by creating depth and dimension. Highlighting involves using lighter shades to brighten up features that catch the light naturally on the face, like the top of cheekbones or Cupid’s bow.
Knowing when to use contouring versus highlighting is key to achieving your desired look. If you have pronounced bone structure, you want to enhance but with subtle results, consider contouring to define facial shape without making it too noticeable – perfect for daytime or professional looks! Highlighter works better when you need brighter skin tone and full coverage rather than sharp angles since it moves to focus from unflattering shadows across your muscles towards softer spots such as the forehead or cheeks.
While there is no hard-and-fast rule about how much time one should allot between these techniques – apply them based on occasion (like weddings!), personal preference (such as certain colors), weather conditions (will makeup sweat easily?), lighting preferences, etc.- learning when each technique is most effective can help you achieve beautiful results every time!
Tips for Balancing Contouring and Highlighting in Your Makeup Routine
Contouring and highlighting can create a stunning look when done correctly, but too much of either technique can easily ruin your entire makeup routine. The key to achieving the perfect balance is knowing when and how to use each method in moderation. Firstly, contouring should be used on areas where you want to create shadows or enhance natural features such as cheekbones, jawline, forehead, etc., whereas highlighting should be applied on areas that catch the light, like cheekbones, nose bridge, brow bone, etc.
Another tip for creating a seamless finish is using products with similar textures — cream contour with a cream highlighter or powder contour with a powder highlighter. Additionally, always remember to blend out any harsh lines from either technique because blending is a crucial step in ensuring you have an even application. Finally, for those just starting out trying these techniques, less is more! You can always add more products if needed, but removing excess ones is harder once they’re already in place – trust me! With the right tools and consistent practice (and probably some YouTube tutorials), anyone can achieve that flawless modelesque skin without going overboard – so give it a go!


